Recessing for Lettering
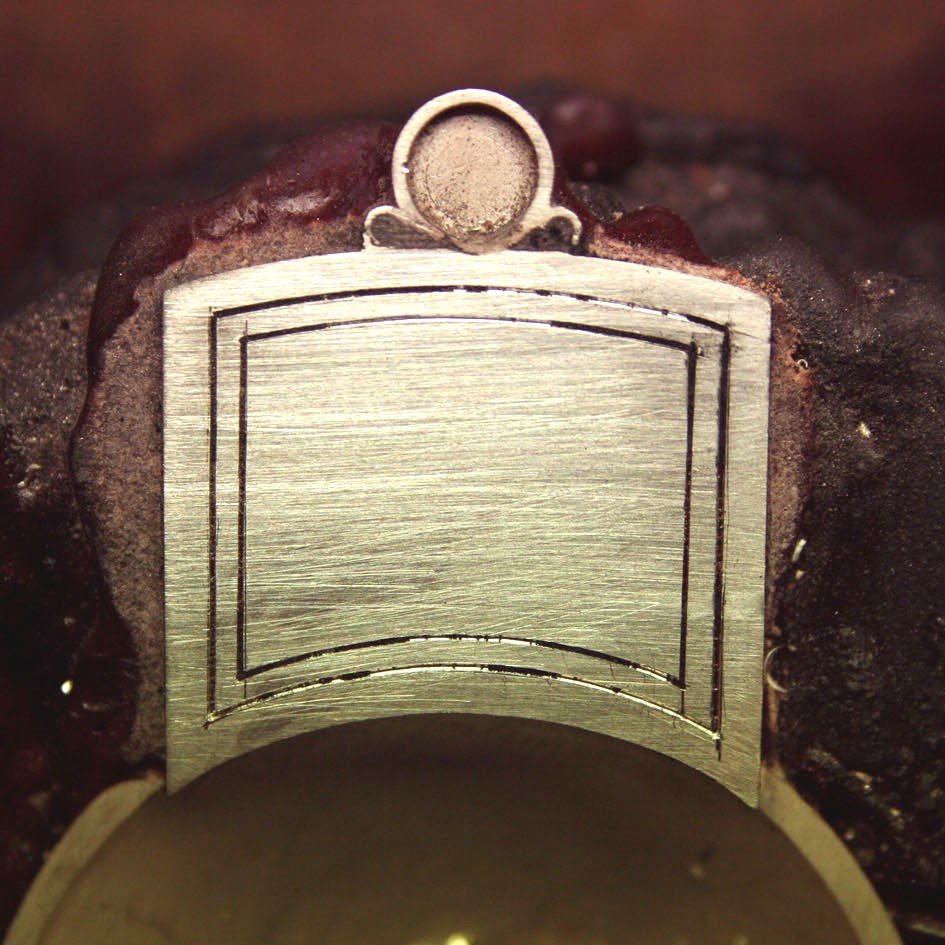
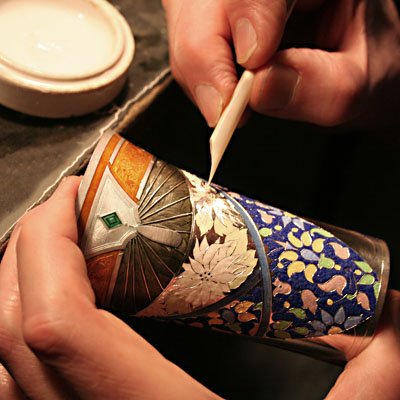
Engraving for enamelling involves heavier cutting so the amount of metal removed at every cut is far greater than a square graver cutting a single line as in inscription work, and will therefore take considerably more effort.
Recessing for Texture
Scribing the Border
Outlining the Letters
First Recessing Cuts
Recessing the Border
Recessing the Lettering
Texturing the Background
Sun and Sea Table Salt
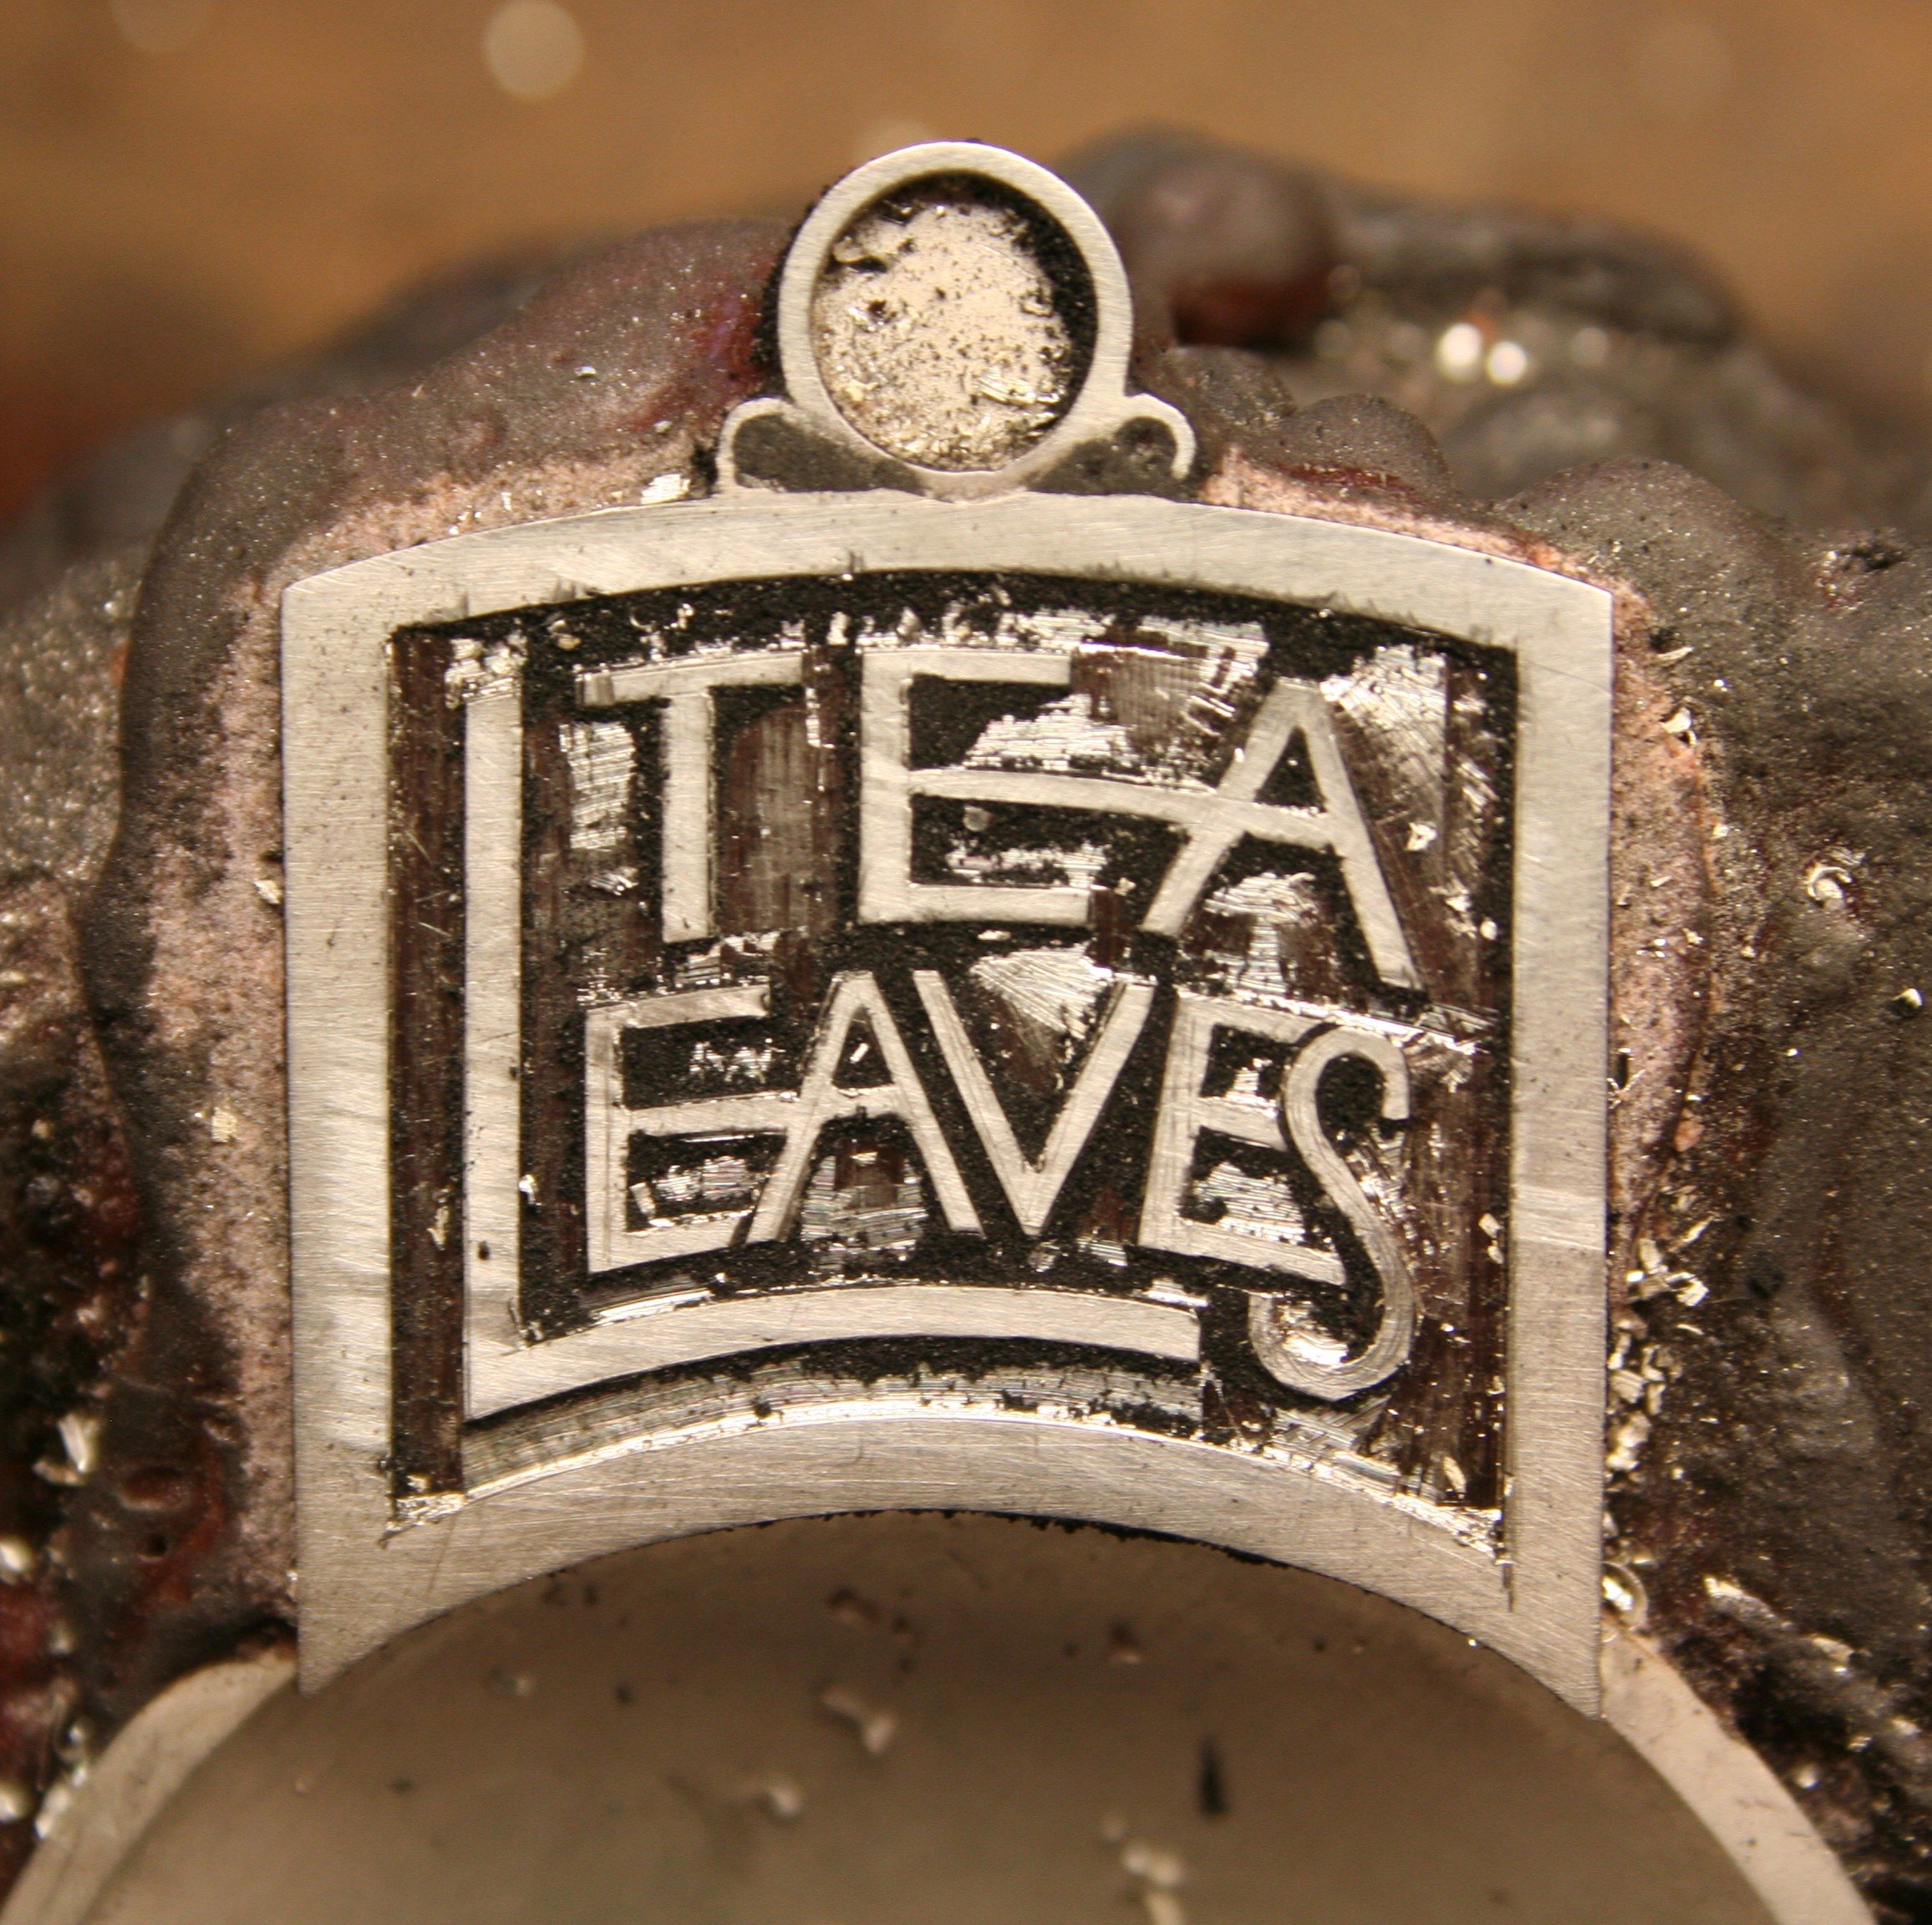
Phil used lettering in a number of his pieces and his accuracy and skill in engraving letters is obvious in his Sun and Sea table salt and Tea Leaf caddy spoon.
Tea Leaves Caddy Spoon
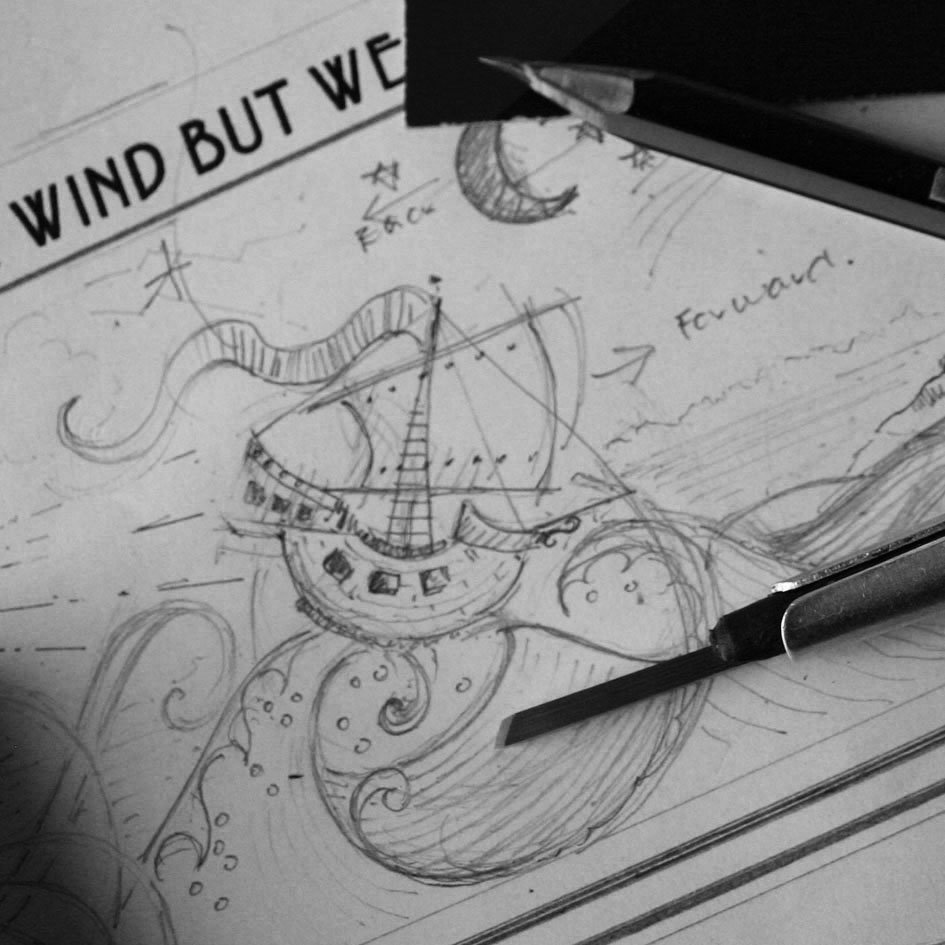
Drawing for Wind Beaker
Wind Beaker Outlined
Wind Beaker Recessed
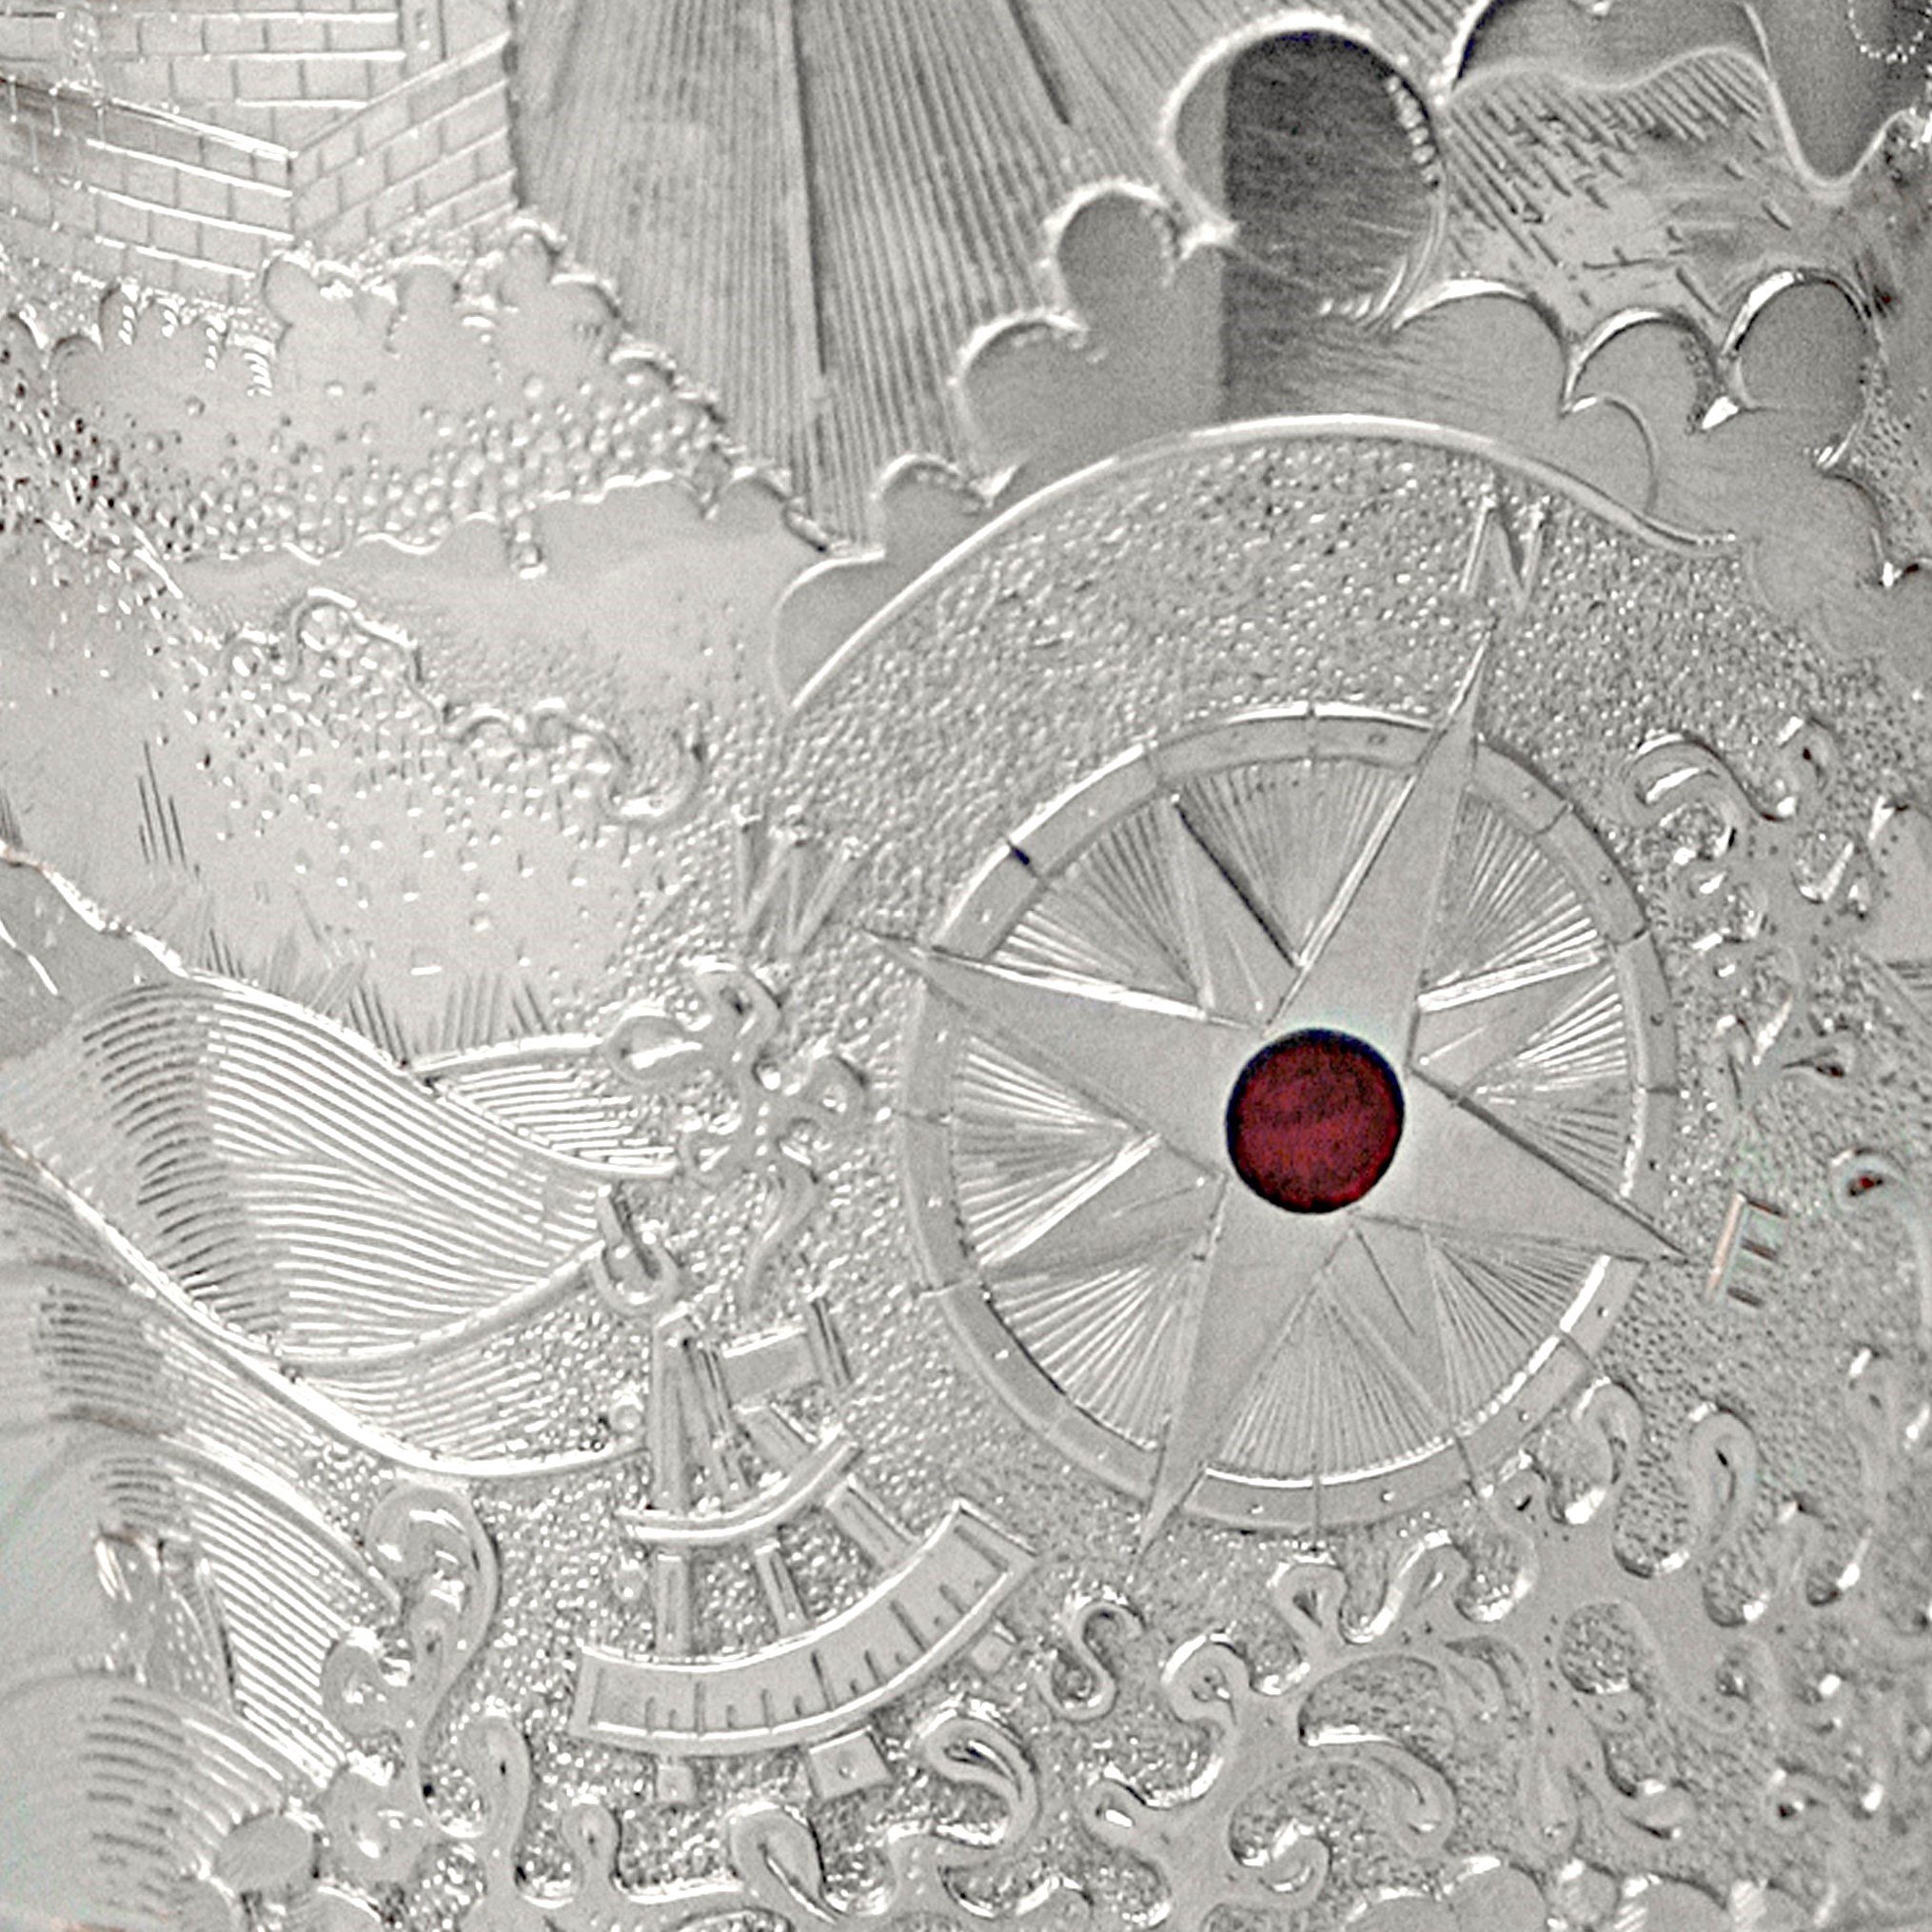
Finished Engraved Detail
Wind Beaker
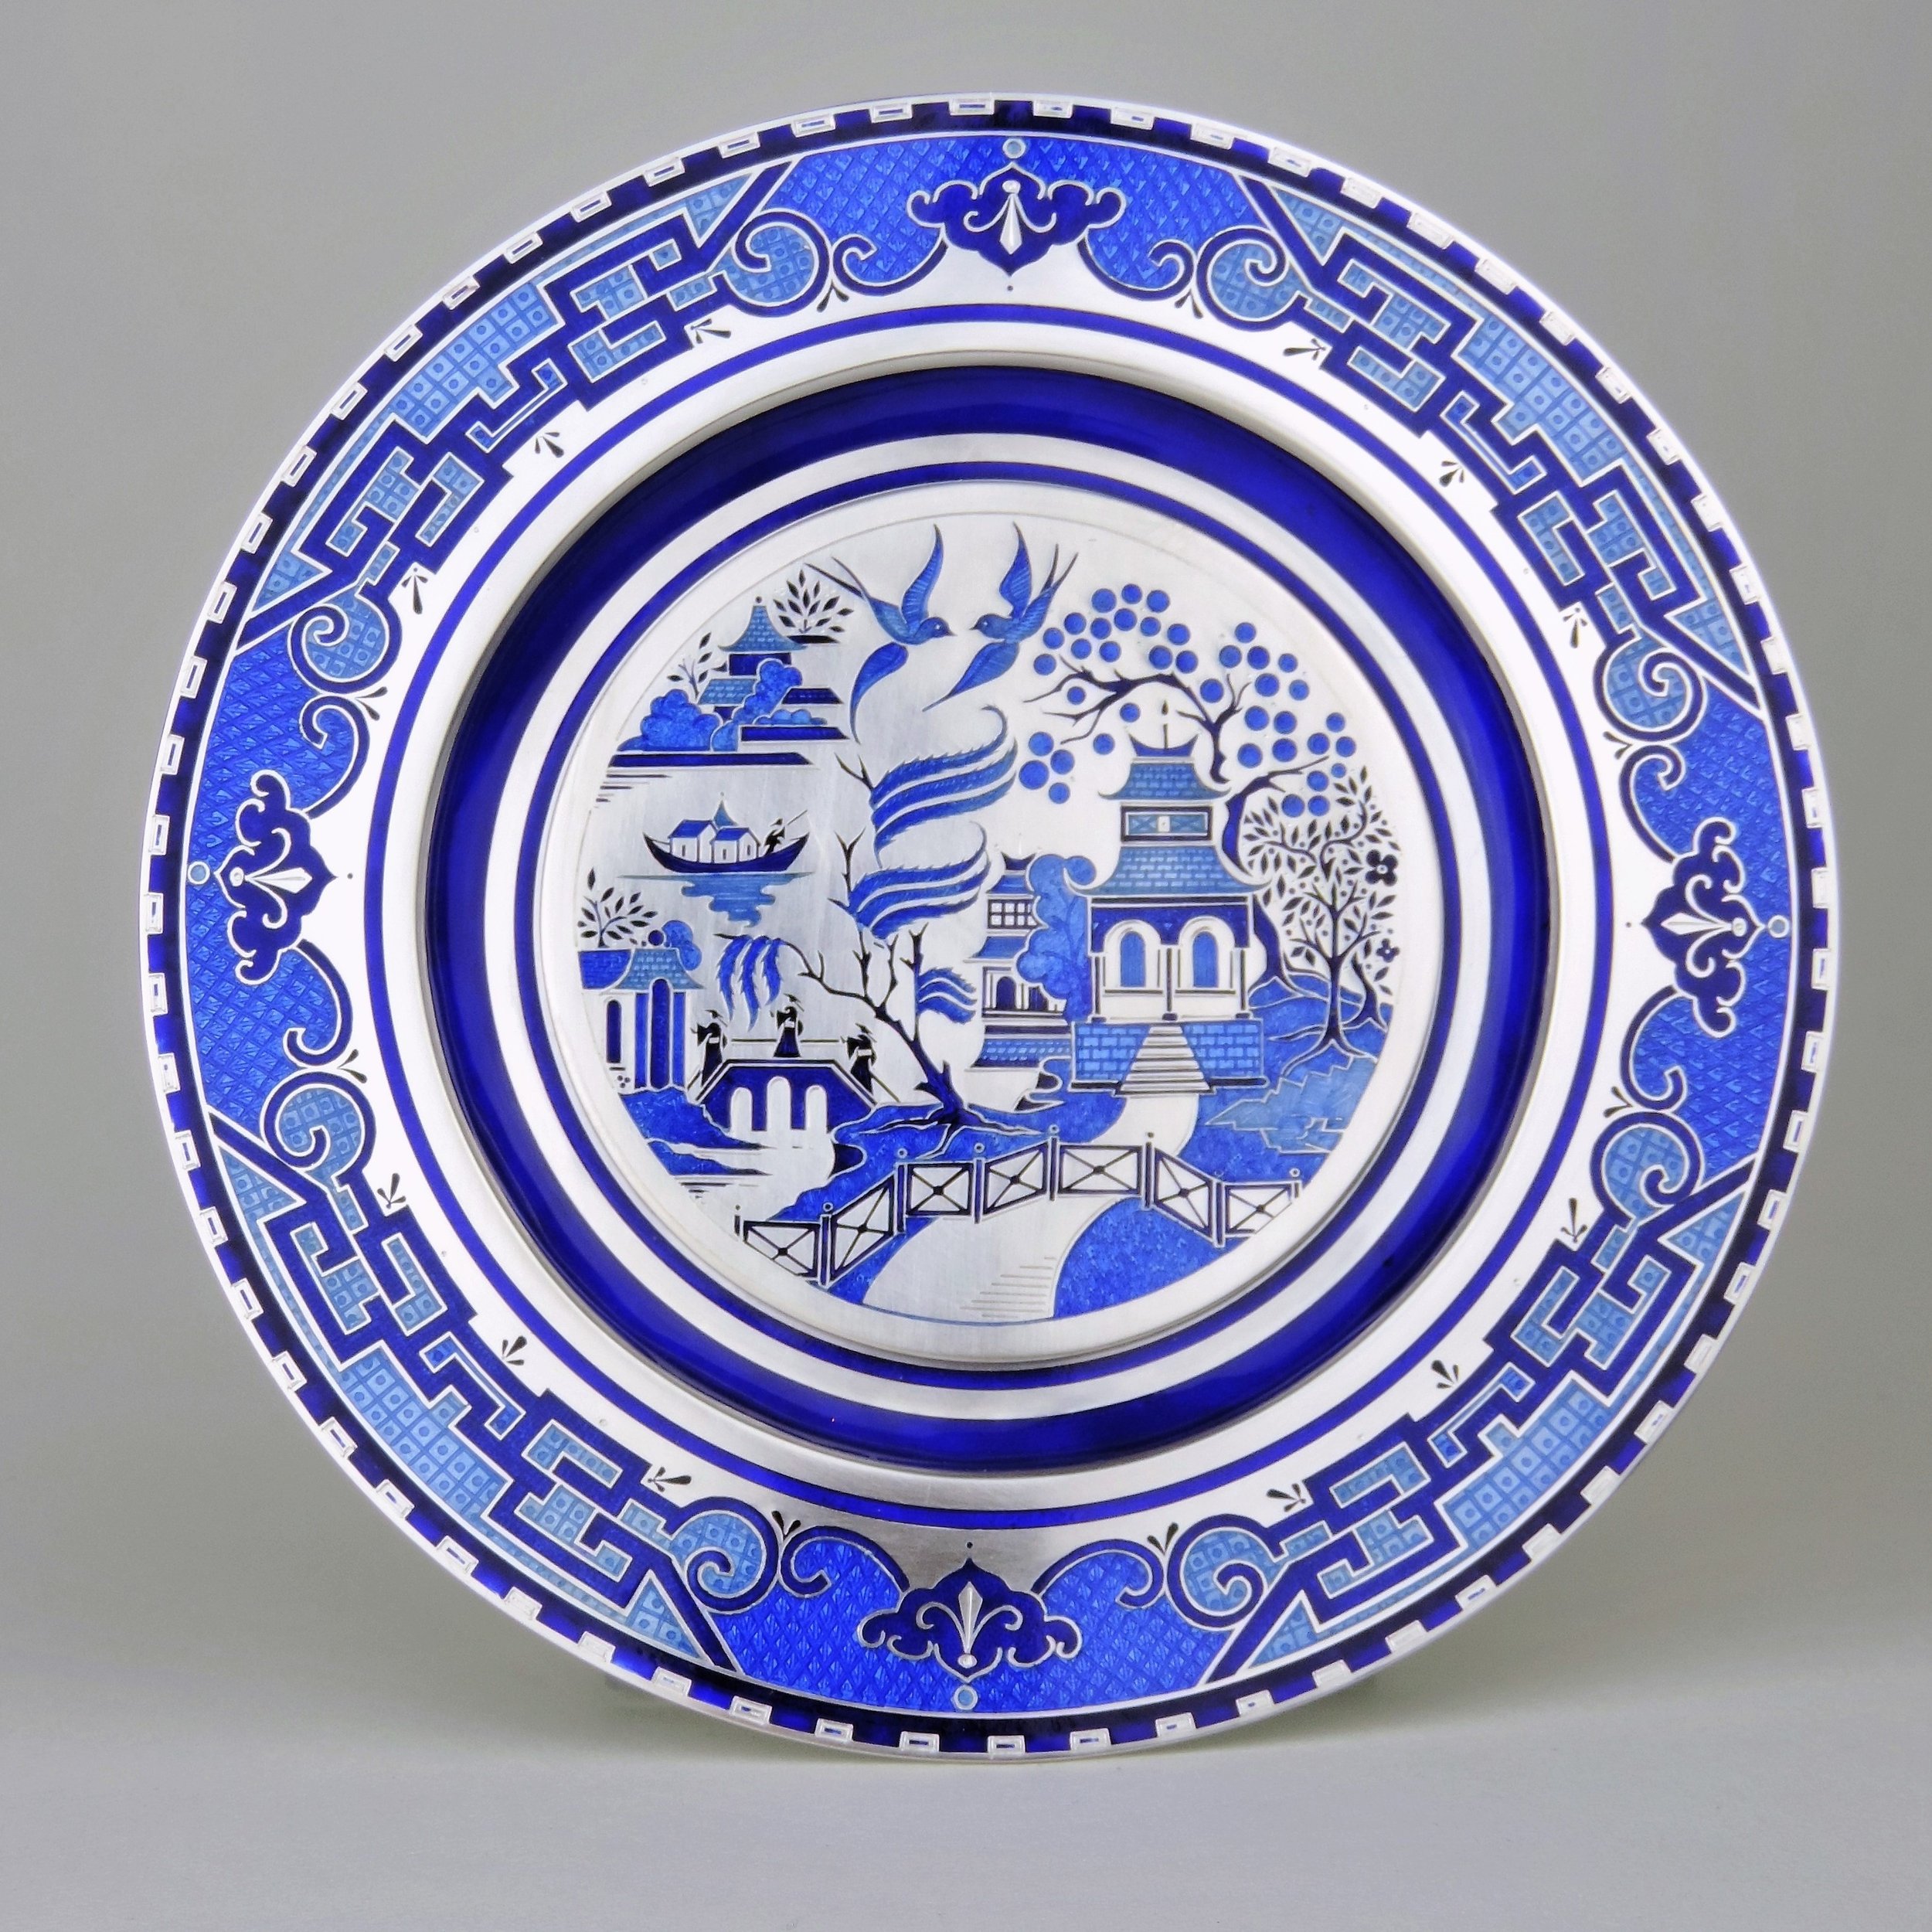
Willow Pattern Plate
Here you can see Phil’s exquisite engraving with and without enamel. The Willow Pattern plate is a detailed design masterpiece at just 120mm diameter.
Champlevé Enamel
The term Champlevé translates as “Raised field” and is the creation of a cell which is then filled with enamel. Cells can be created in many ways, by hand engraving, using a steel die and stamped, acid etched, machine routed out and 3D printed and laser cut.
Basse-taille
Enamel is laid over a low relief engraved design giving variations of colour due to the different thicknesses of the enamel. A monotone effect is achieved with darker and lighter shades due to the variation of the depth of the engraving.
Cloisonné
This technique has a long history. The design is created by bending and forming fine wires to create the cells which are then soldered on to the piece. Enamel is then applied to the cells taking the enamel and the metal wires level to one surface.
Plique à Jour
Plique à jour translates roughly as “light of day” or “ letting in daylight”. Plique à jour, exemplified by René Lalique, could be simply described as giving the effect of a miniature stained-glass window. The enamel is suspended in an open frame with no front or back, so the light passes through it.
Enamel painting - sometimes called Limoges style
Metallic oxides, similar to those used in the making process of enamel, are mixed with oil and used to paint onto a prepared enamelled surface. An enamelled painting is built up in layers and fired in between each layer, involving many fires to create a finished piece; this technique was often used in miniature portraiture.
Guilloché
This is where a metal base has been engine turned, a process in which a regular repeated pattern with a very bright cut is created using a machine. Generally a single colour is laid over an engine turned surface and the greatest exponent of this type of work with was Carl Fabergé, the Great Russian master Goldsmith.
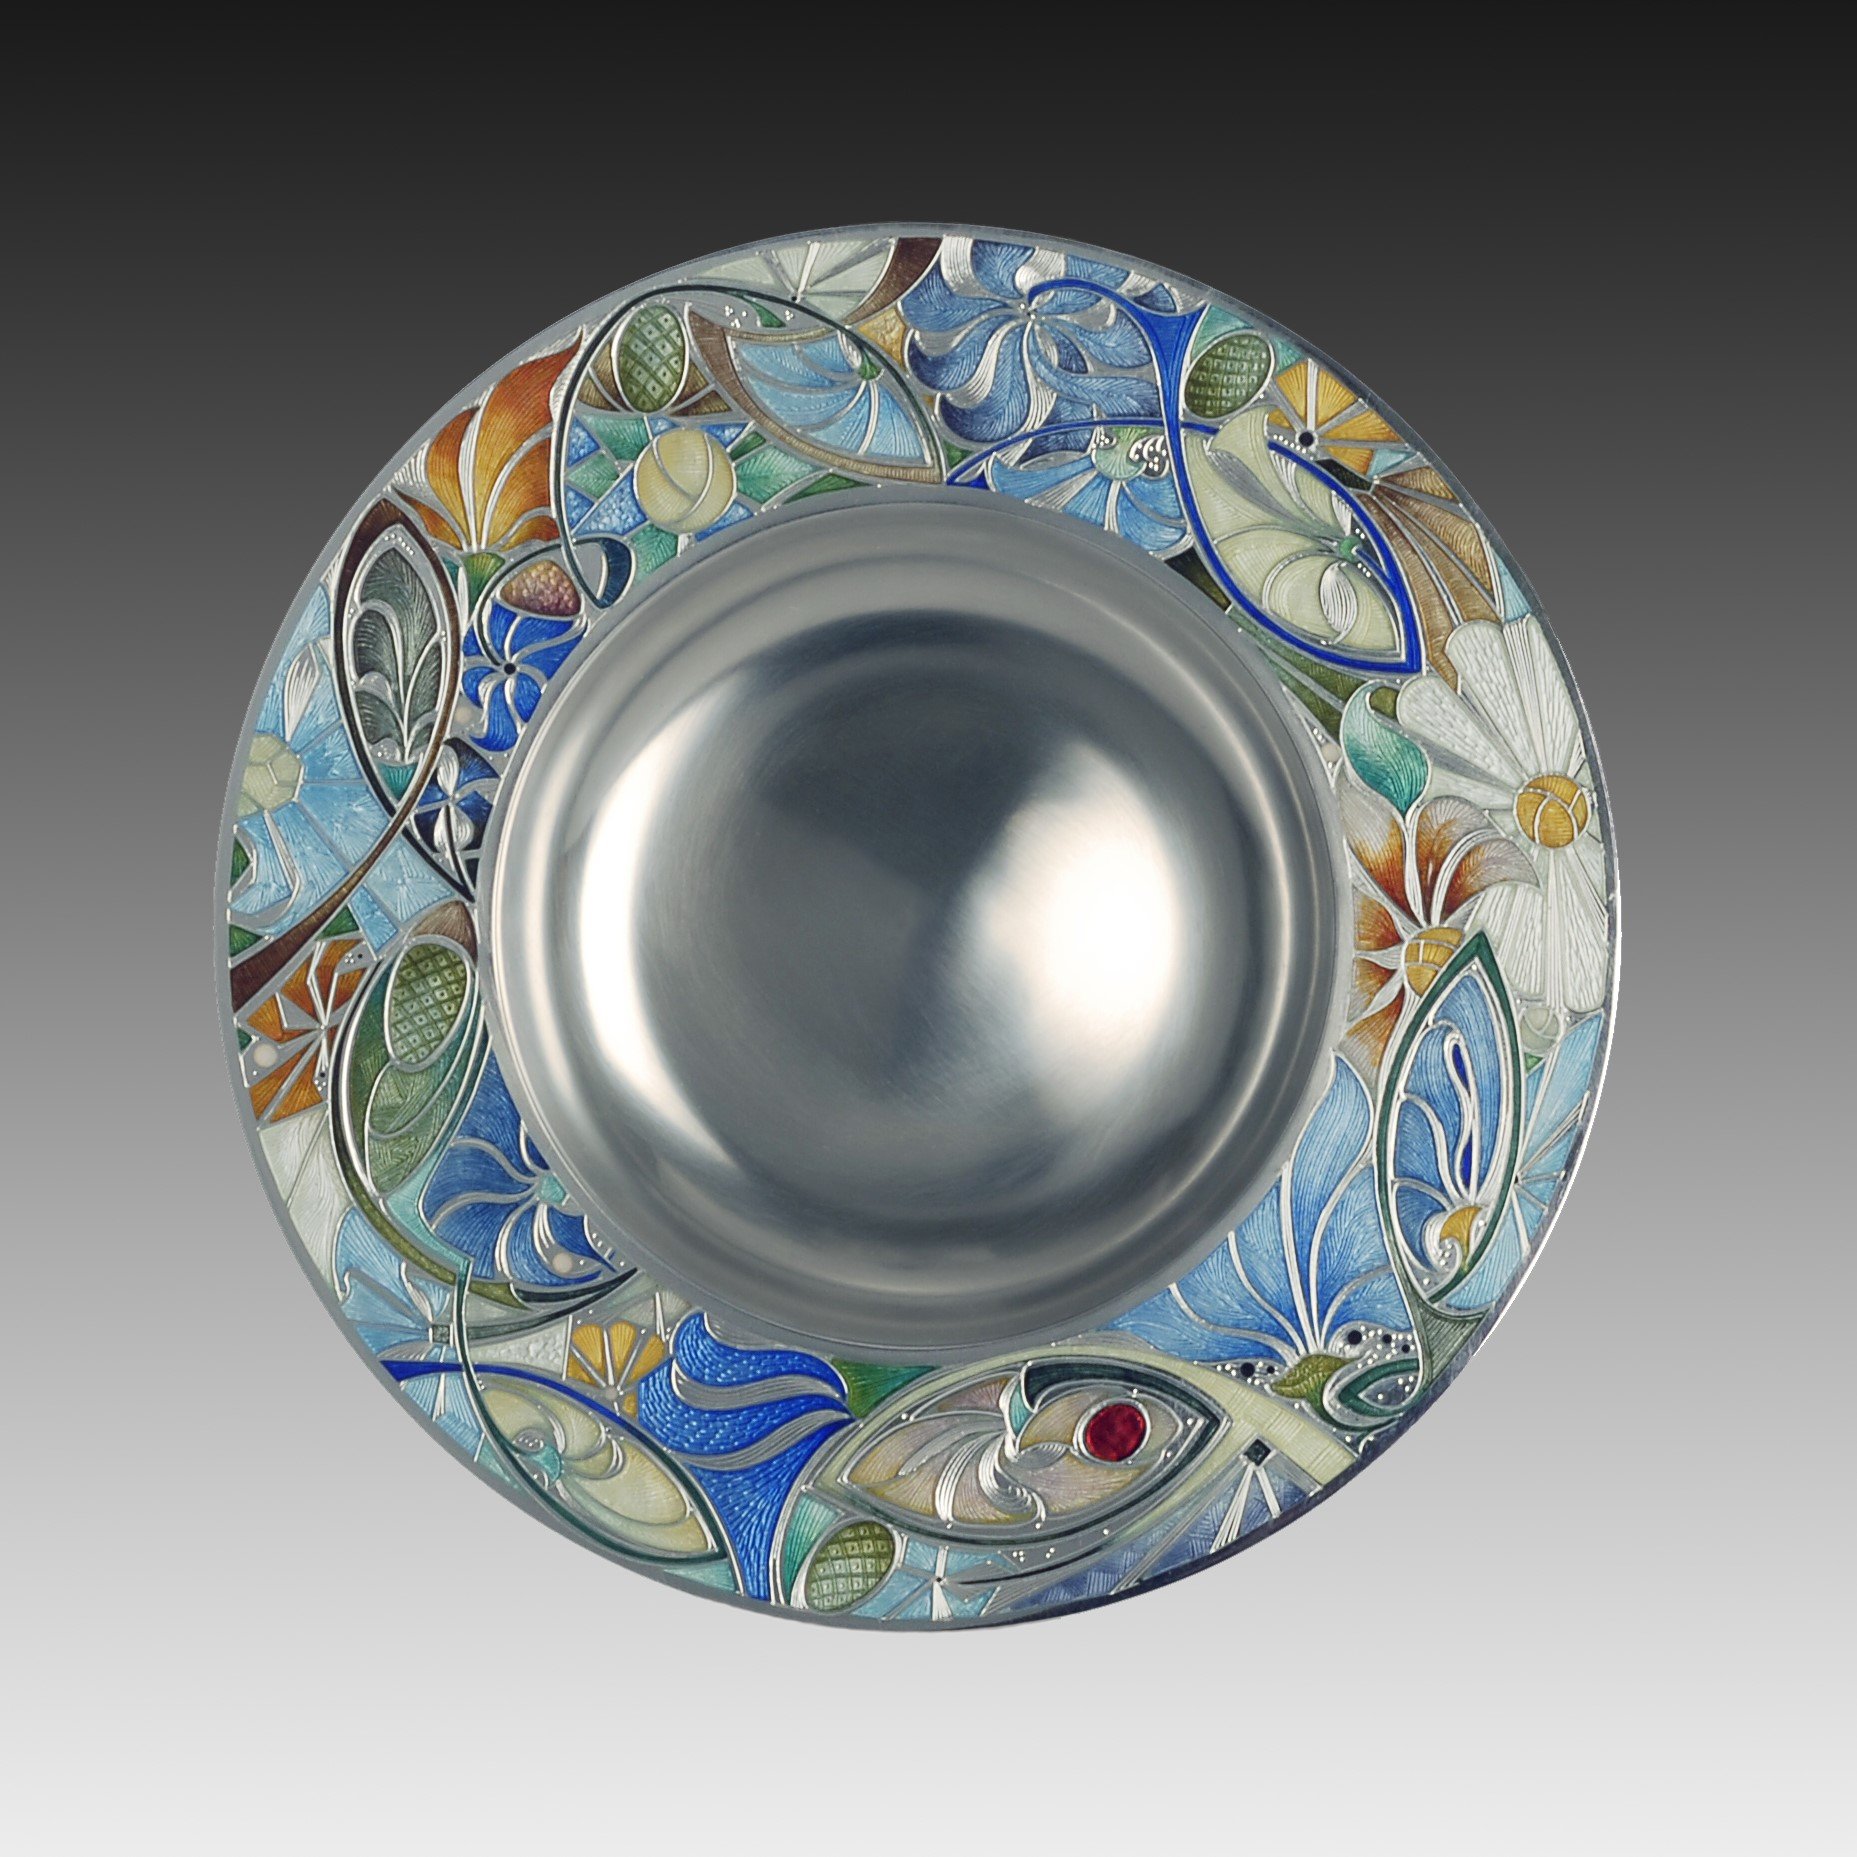
Tazza Dish
Phil specialised in hand engraved Champlevé enamelling, the creation of cells by recessing down to a depth. Phil used brightly cut engraved lines to create textures beneath the enamel, it is a very time consuming technique, with the engraving part of the process often taking some ninety percent of the time involved in creating the piece. This process allows light to refract back through the enamel, bringing the colours to life.
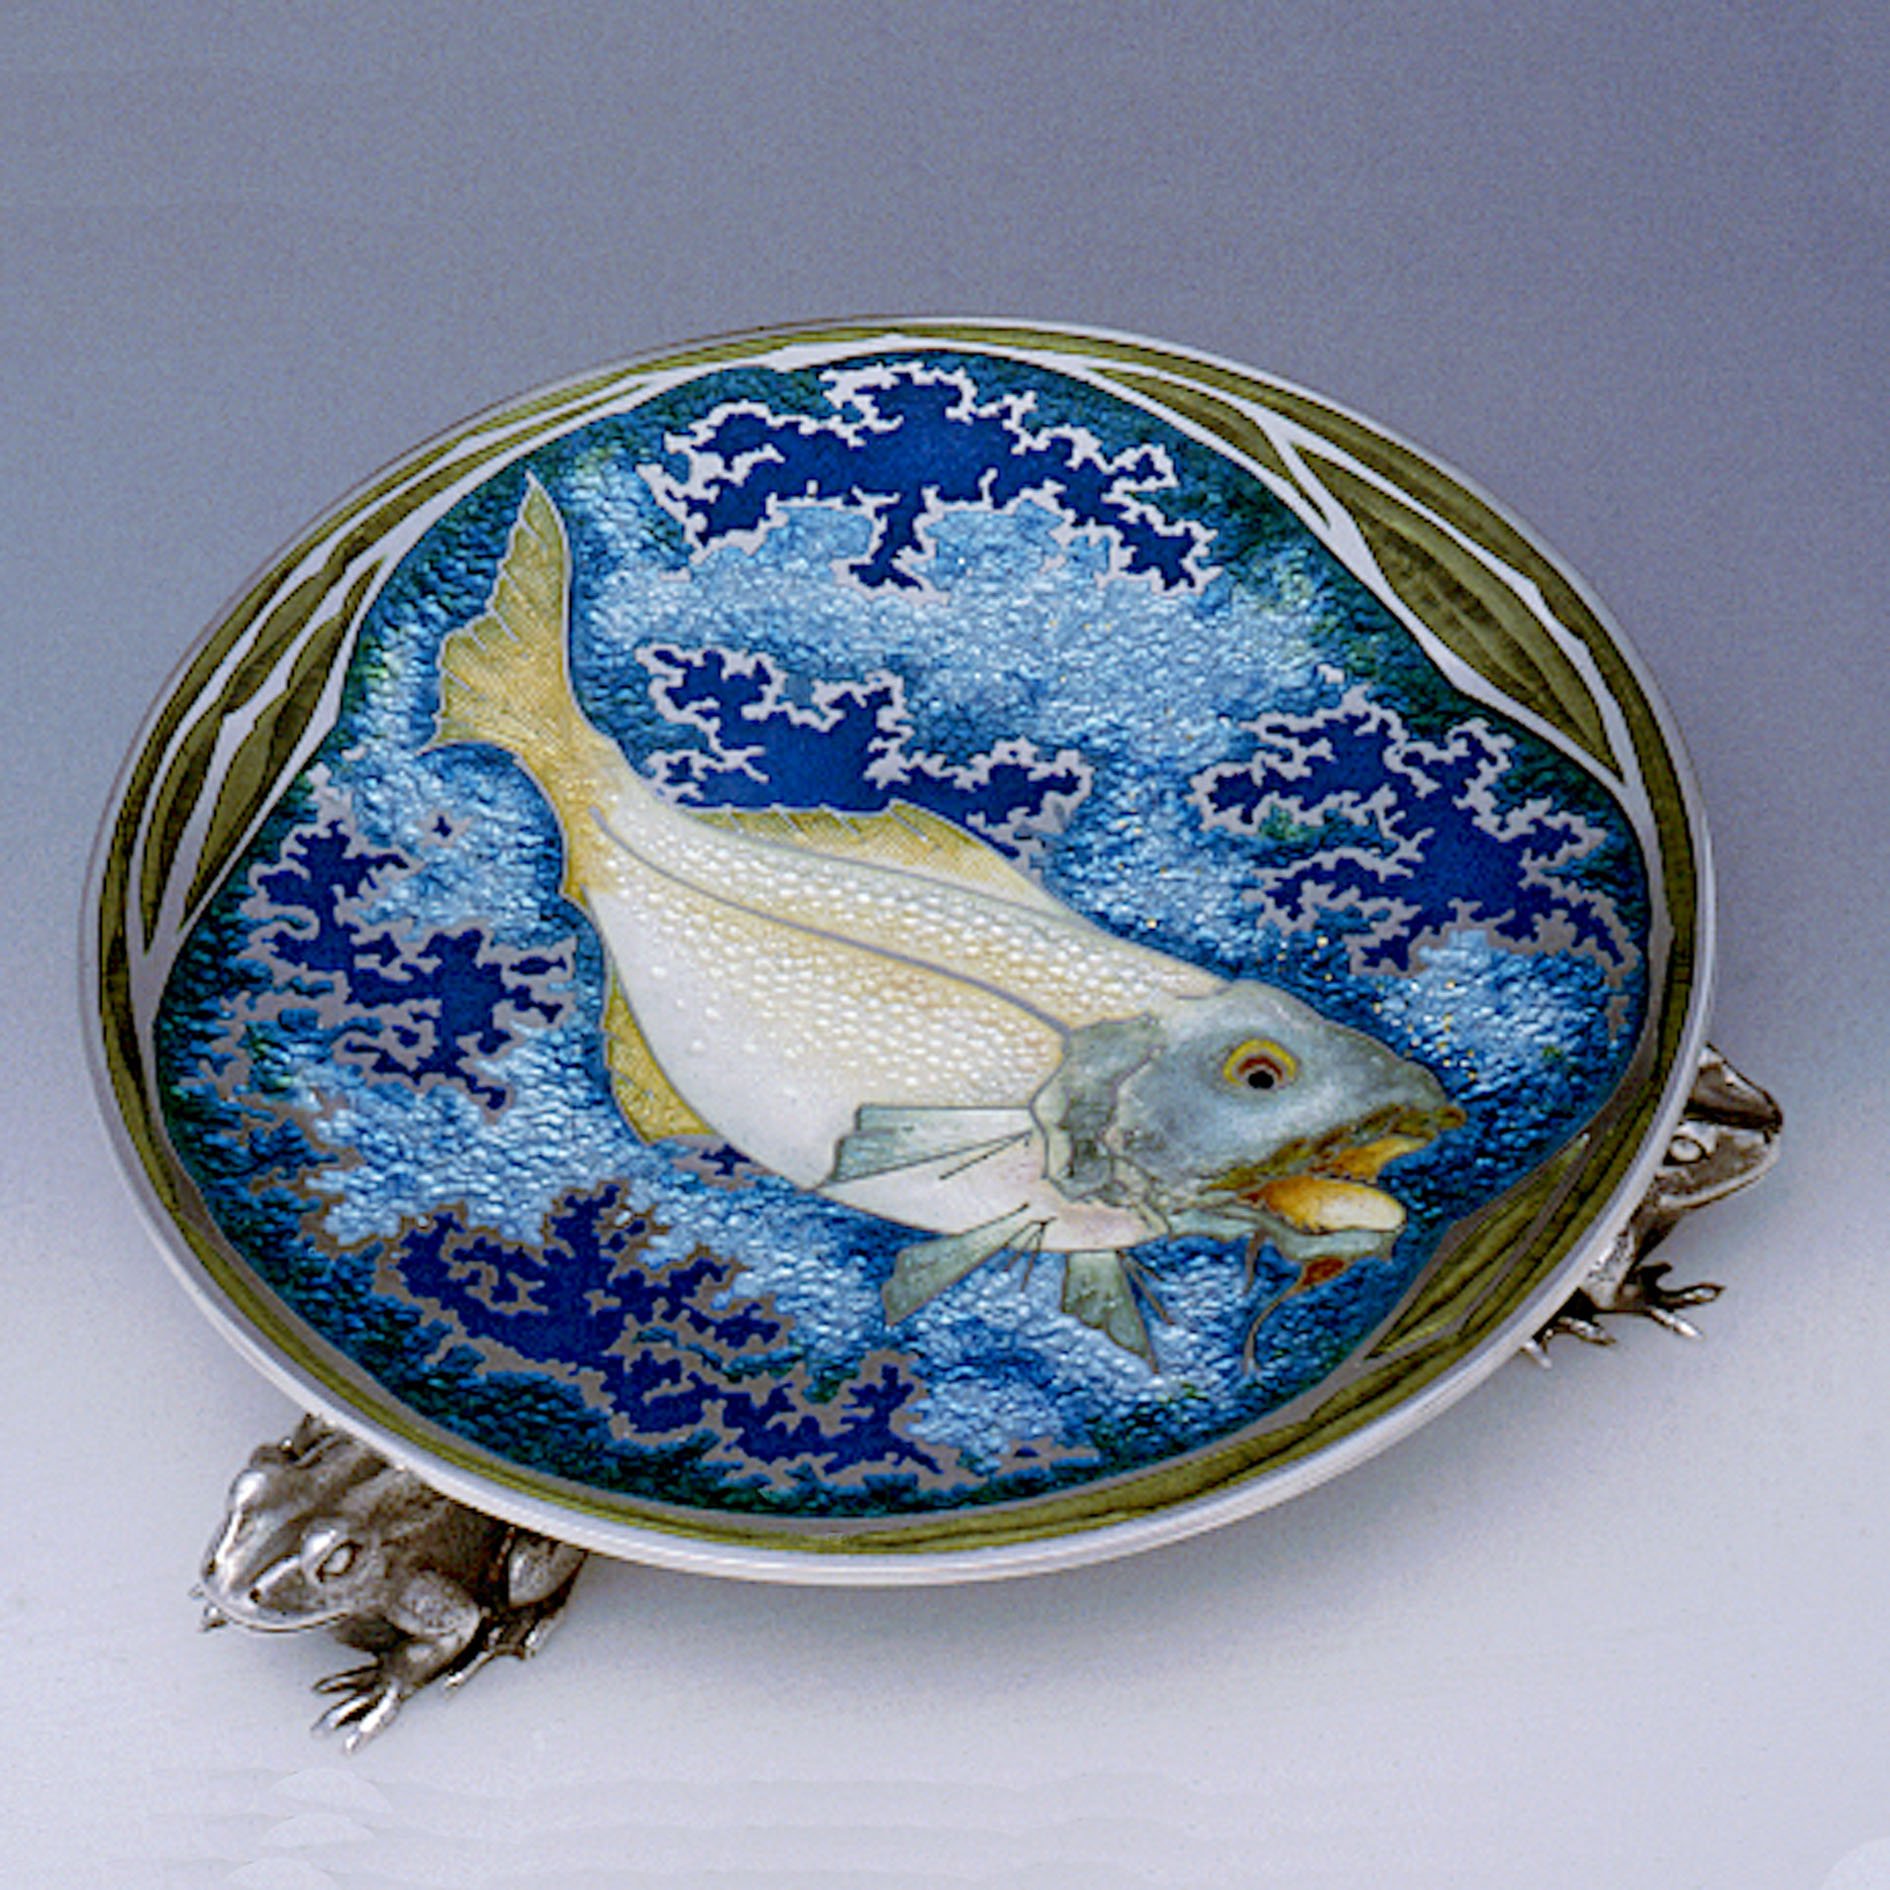
Fish Dish
Jars of Lump and Powder Enamel
Enamel is a compound of flint, sand, potash, lead, borax and silica which when melted together make a clear frit or glass known as flux. Metal oxides are added to this frit to achieve the different colours and shades of enamel.
Colour Samples of Enamel on Silver
Lump Enamel Pounded with a Pestle
The enamel is ground down in a pestle and mortar into fine particles. The finer the grains are ground, the thinner each layer of enamel can be allowing greater control over the colours.
Grinding Enamel in a Mortar
Preparing a Quill for Enamelling
Phil used a quill to apply enamel in thin coats, often he used a process called grading, which is a way to blend and overlay enamels to create colour changes and effects.
Laying Enamel
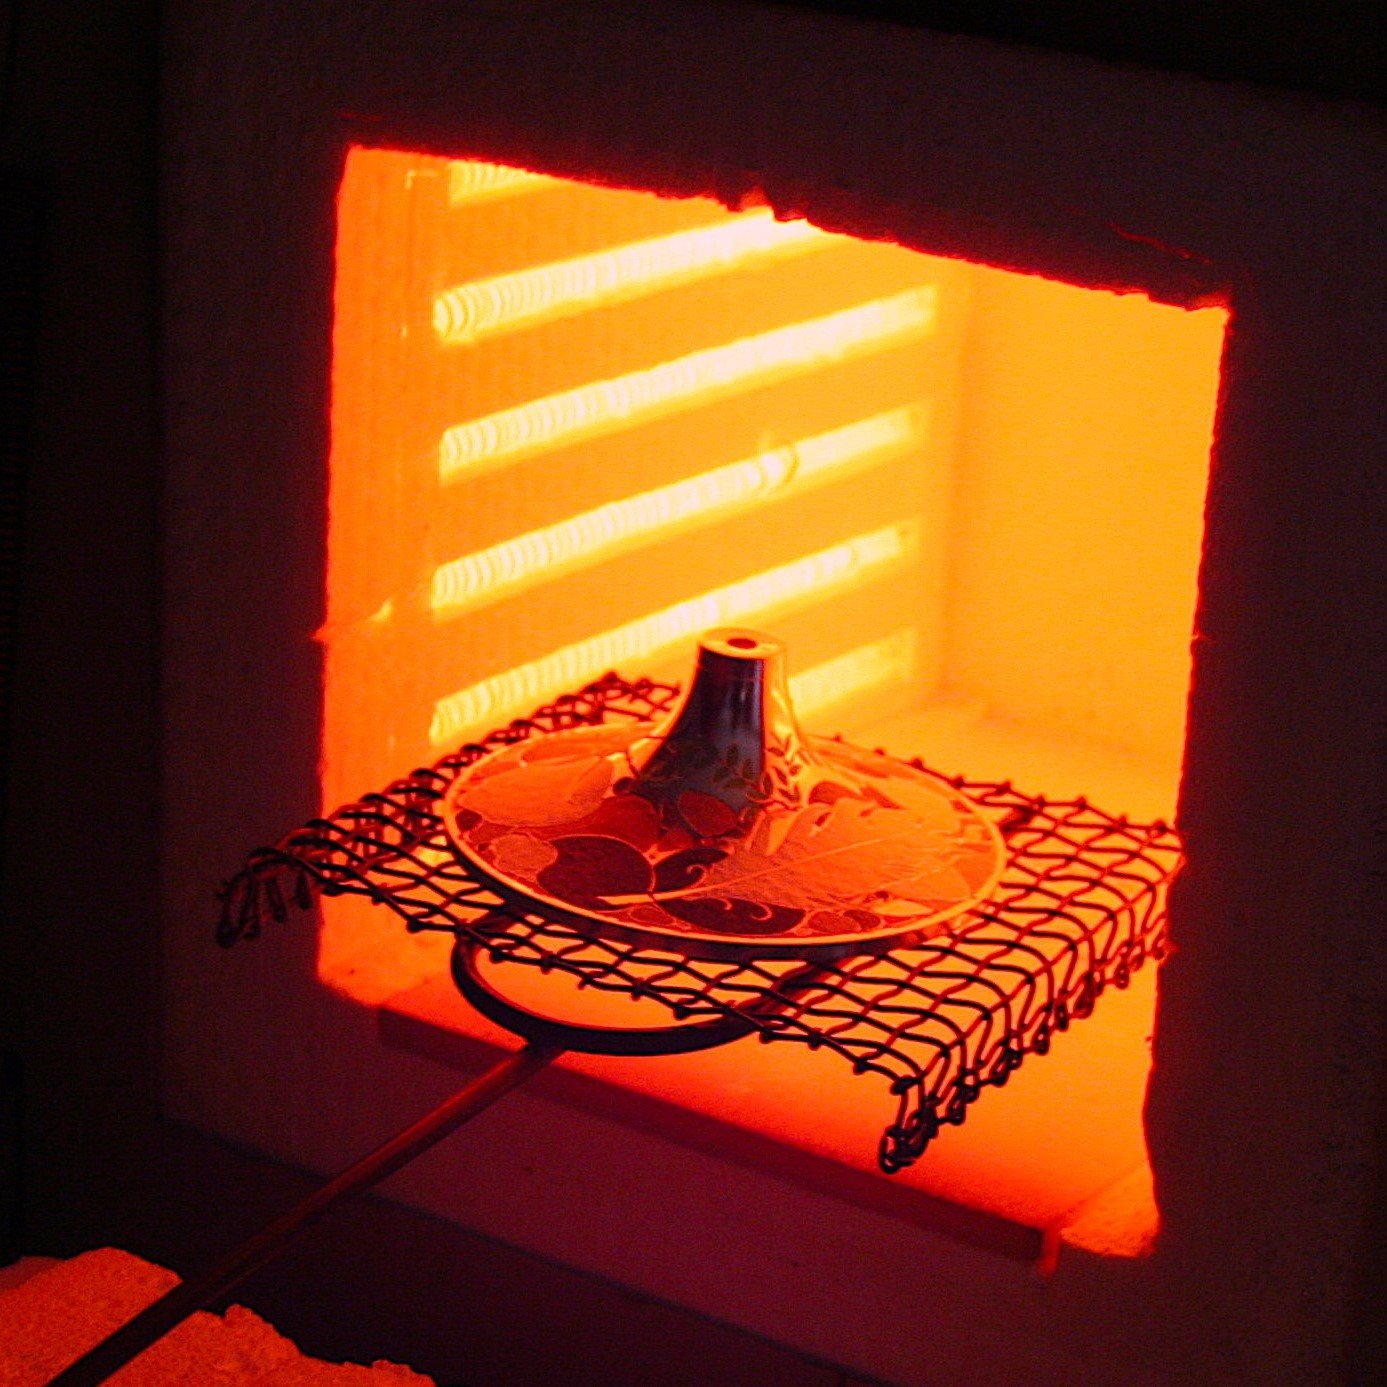
Firing in a Kiln Running at 1000 Degrees
Each coat of enamel applied is fired in a kiln, causing the enamel grains to fuse and adhere to the metal base. A piece will go through the firing process numerous times, so it is important to control the level of firing at each stage to avoid burning out the colours or melting the piece.
Checking the Firing Progress
Stoning Down the Enamel
When all the coats of enamel are laid and fired the last stages of stoning down and finishing begin. Stoning down is the process of wearing down of the enamel to become level with the metal edges of the cell using a Carborundum stone. After stoning the piece is ‘papered’ with a fine wet-and-dry paper.
Papering with Wet-and-Dry
Polishing with Wet Pumice Powder
After one final fire the piece is polished using a felt wheel attached to a motor and applying wet pumice powder. The piece must be kept moving and the pumice kept wet to avoid marking the enamel. Using the pumice, the enamel and silver are ‘lapped’ to create a completely smooth surface.
Lapping the Enamel
Jenny Edge Beaker
Light is reflected back through the enamel from the metal surface behind, especially if that metal surface has been engraved with bright reflective cuts. When this light comes back through the transparent enamel it can be altered by the overlaying and mixing of the enamels creating a different look.
Floating Materials Lidded Beaker


